
Trying to draw digital art for the first time (Art Journal #1)
my cousin gifted me a pen tablet! And I tried to draw a fox.

Hello there! Welcome to the first episode of ✨“Art Journal”!✨
Since I’m aiming to become an artist, I started a new newsletter series where I share my progress in learning art! In this series, I will show you my drawings, the process of creating a digital illustration, and some tips as well.
Quick question!
Using a pen tablet for the first time:
Recently, my cousin gifted me a Wacom One (pen tablet) for my birthday. Until that day, I never really dove into creating digital art that much. If I did, I only drew stick man and poorly drawn stuff using my fingers. So, I was pretty excited to use the Wacom tablet and properly learn digital art. I can draw well on paper though. You can check out my Instagram to see my traditional drawings and some of my best artworks.

As soon as I got it, I installed a free digital art software called Krita and plugged in my Wacom tablet. I thought it would be much more difficult to get used to drawing with it. I thought I had to practice for days and improve my hand-eye coordination. But, I got used to it sooner than I thought. First, I scribbled with different brushes to try them out. After that, I picked a picture of a fox on Pinterest and started to draw.
Attempting digital art for the first time:
I don’t know much about digital art software, color theory, or what brushes to use. But I still decided to draw the fox cause I was too excited to be patient and learn the basics first (lol).
I did a VERY rough sketch. I don’t remember what brush I used and why I sketched it in green. But here’s how it turned out:
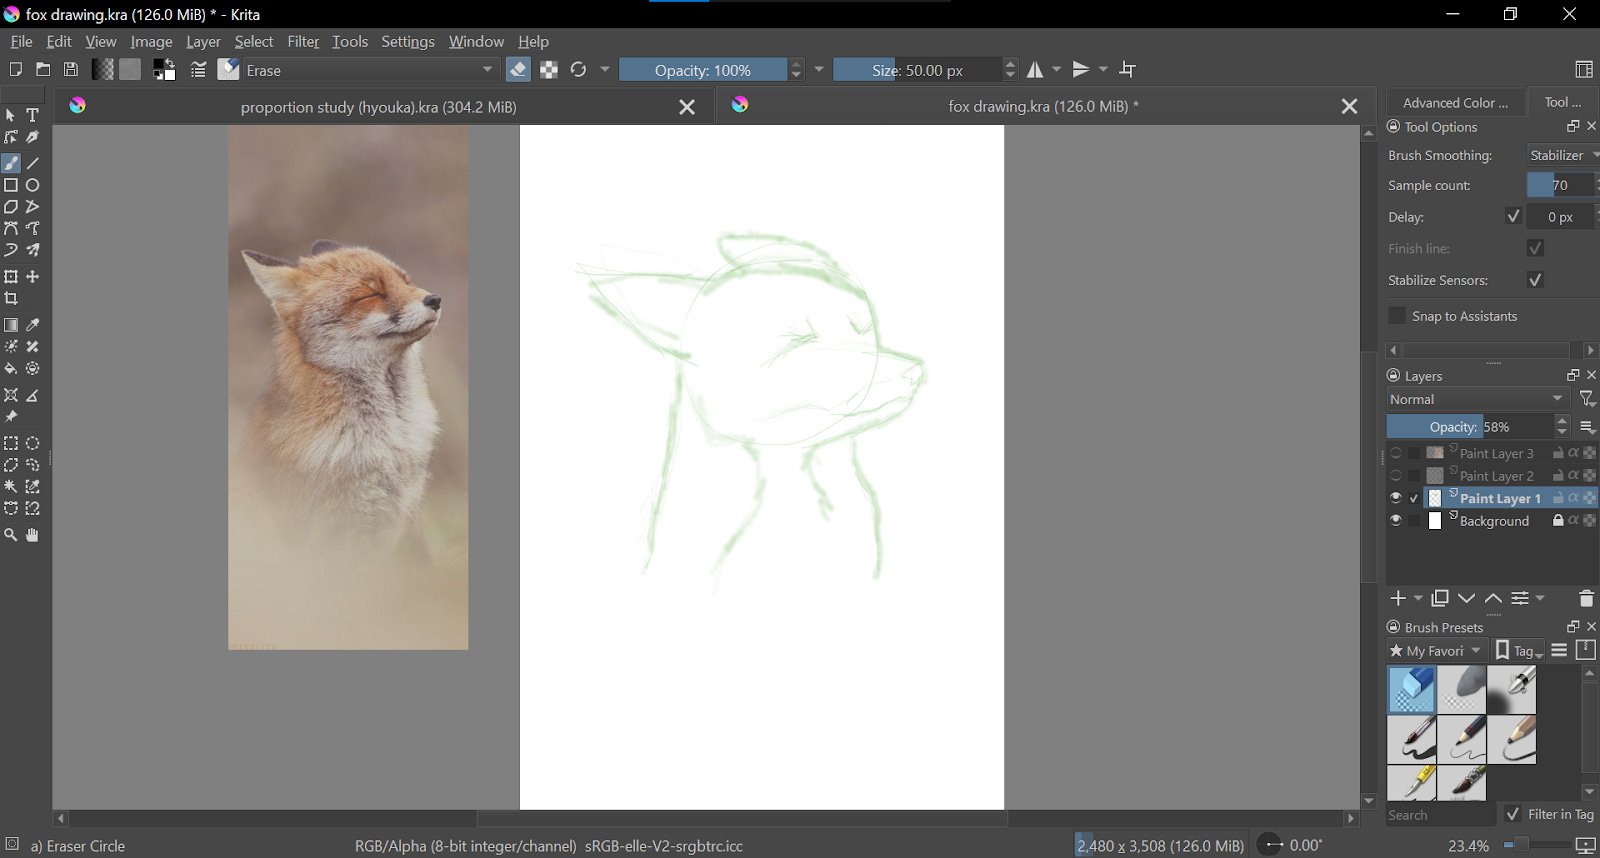
Yep. it’s pretty messy. (But, I gotta trust the process I guess).
I don’t know much about how to use Krita yet so I played around with different settings and learned how to do three basic stuff.
How to make the brush smaller or bigger
How to change the color
How to create a new layer
I created a new layer, increased my brush stroke, and selected a black color. I decided to draw a refined sketch. Which… ended up looking like a toddler’s drawing.

Moving on to the 3rd layer, I used flat colors first and added details on top. But, as I said, I don’t know much about color theory so I decided to copy the colors directly from the reference (I will learn color theory later). And that’s when I discovered the ✨eye dropper tool✨
I didn’t do any line art cause I was going for a realistic style. The real world has no outlines.
I blocked out the bigger areas with flat colors and scribbled- yes, scribbled the details in the same (frickin’) layer (I regret not adding a new layer before adding the details).
I only used two or three brushes throughout the whole process and used a very thin brush to do the details. I was pathetic and confused with so many digital brushes. It’s too much for a newbie. (P.S. By the time of writing this, I improved a bit. I don’t make the same newbie mistakes anymore).
And it’s done! Look how it turned out:

Nice try, past me. Better luck next time. (Just kidding, luck doesn’t have anything to do with learning a skill).
I know I skipped a few steps here- okay I admit, I skipped a lot of steps. But that’s because I didn’t know I would include this drawing in my Substack art journal. I will make the next one more detailed, exploring each step of the art process.
Also, if you do digital art, I would love to learn a few tips from you. Share them in the comments.
That’s it for this episode of “Art Journal”. If you liked this post, I hope you can let me know by leaving a quick like, comment, or share this letter with others.
Some details:
Tool: Wacom One pen tablet
Software: Krita
Thank you for reading! I hope you enjoyed reading this post and hope it was helpful. Come again next week on Friday for a ✨new post✨
Recommended newsletters to read next ✨:
I tried selling merch online with no investment (and how you can too)
What a lovely end result - that fox is great!
Woah🤯 , The fox you had drawn is awesome!