
Drawing your favorite characters in manga art style (Art Journal #7)
+Timelapse videos, art tips, and reasons we have to set aside time to draw just for fun.

Hey there!
Welcome to the 7th episode of the Art Journal series!
In this newsletter series, you get to see my recent drawings, the process of creating a digital illustration, art tutorials, and some tips as well.
The previous episode:

The other day, I posted this Note, asking you guys to tell me your favorite childhood character so I could draw them in manga art style:
Two of you guys suggested your childhood favorite character, so I'm drawing them in manga art style today. Without further ado, let's get right into it!
Artwork #1

First, we have Pooh from a show called, Winnie-the-Pooh! A teddy bear character with human traits, created by author A. A Milne and an illustrator named E. H Shepard.
Okay, I admit, I've never drawn a teddy bear in manga art style before. So this is going to be a fun and challenging one.
First I went to Google, looked at a lot of images, and observed his form. I picked a reference.
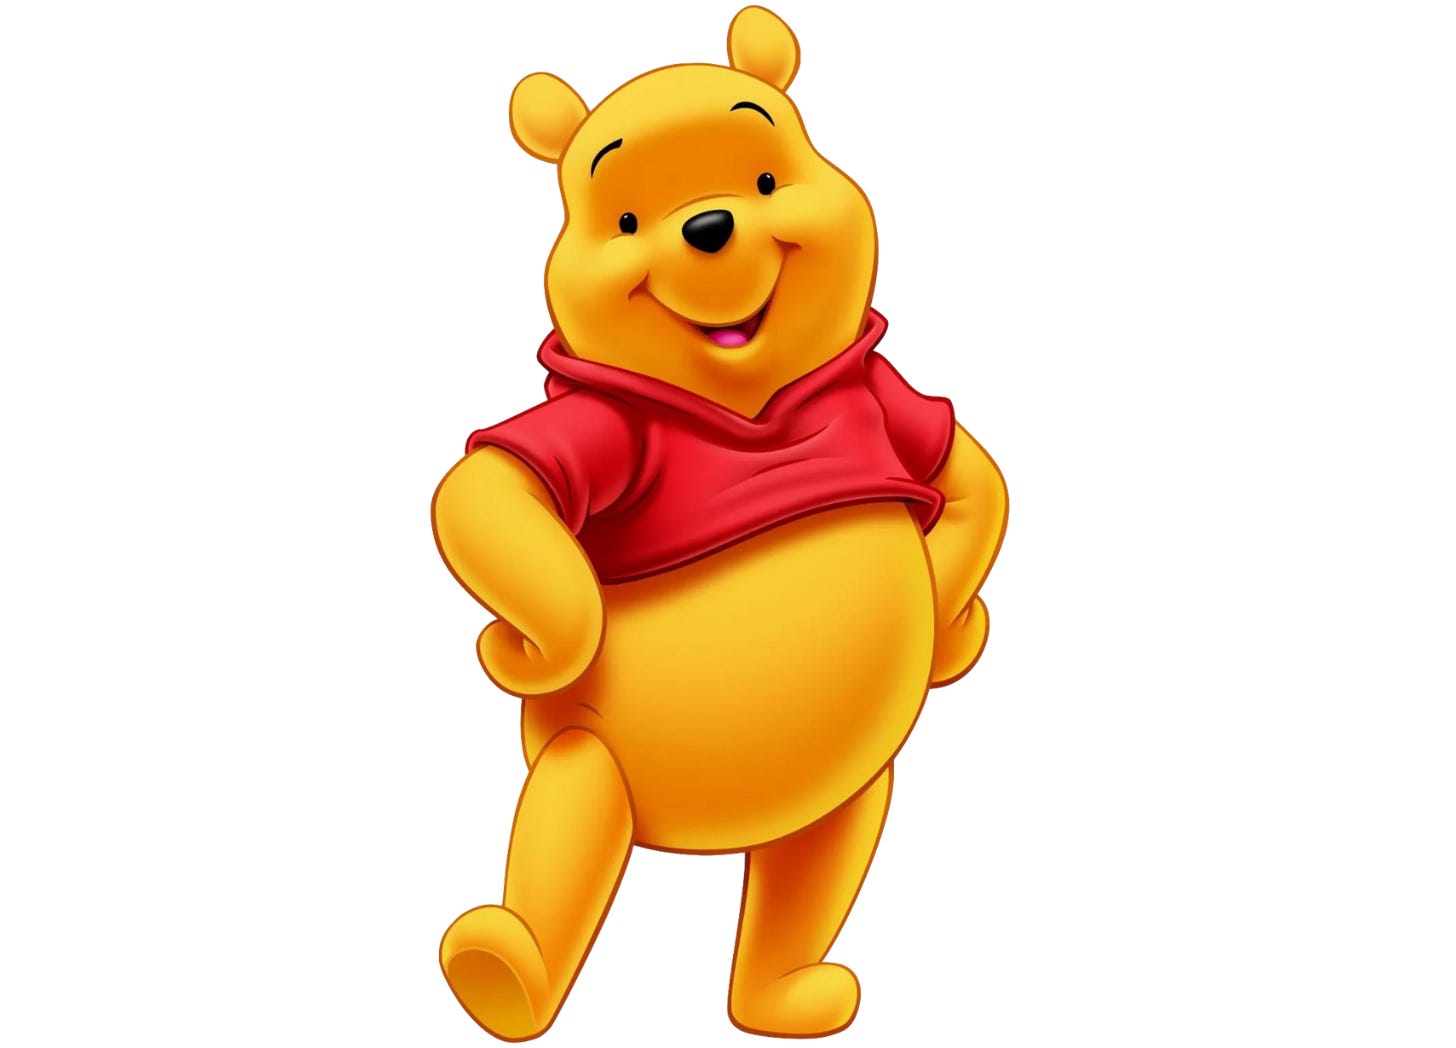
This character is made of rounded shapes that look soft rather than sharp and pointy shapes like squares or triangles.
I usually like to draw slightly pointy shapes. So, I didn't completely draw this with curves. I did add some pointiness like on his outfit and the top of his hair.
Here's the result!
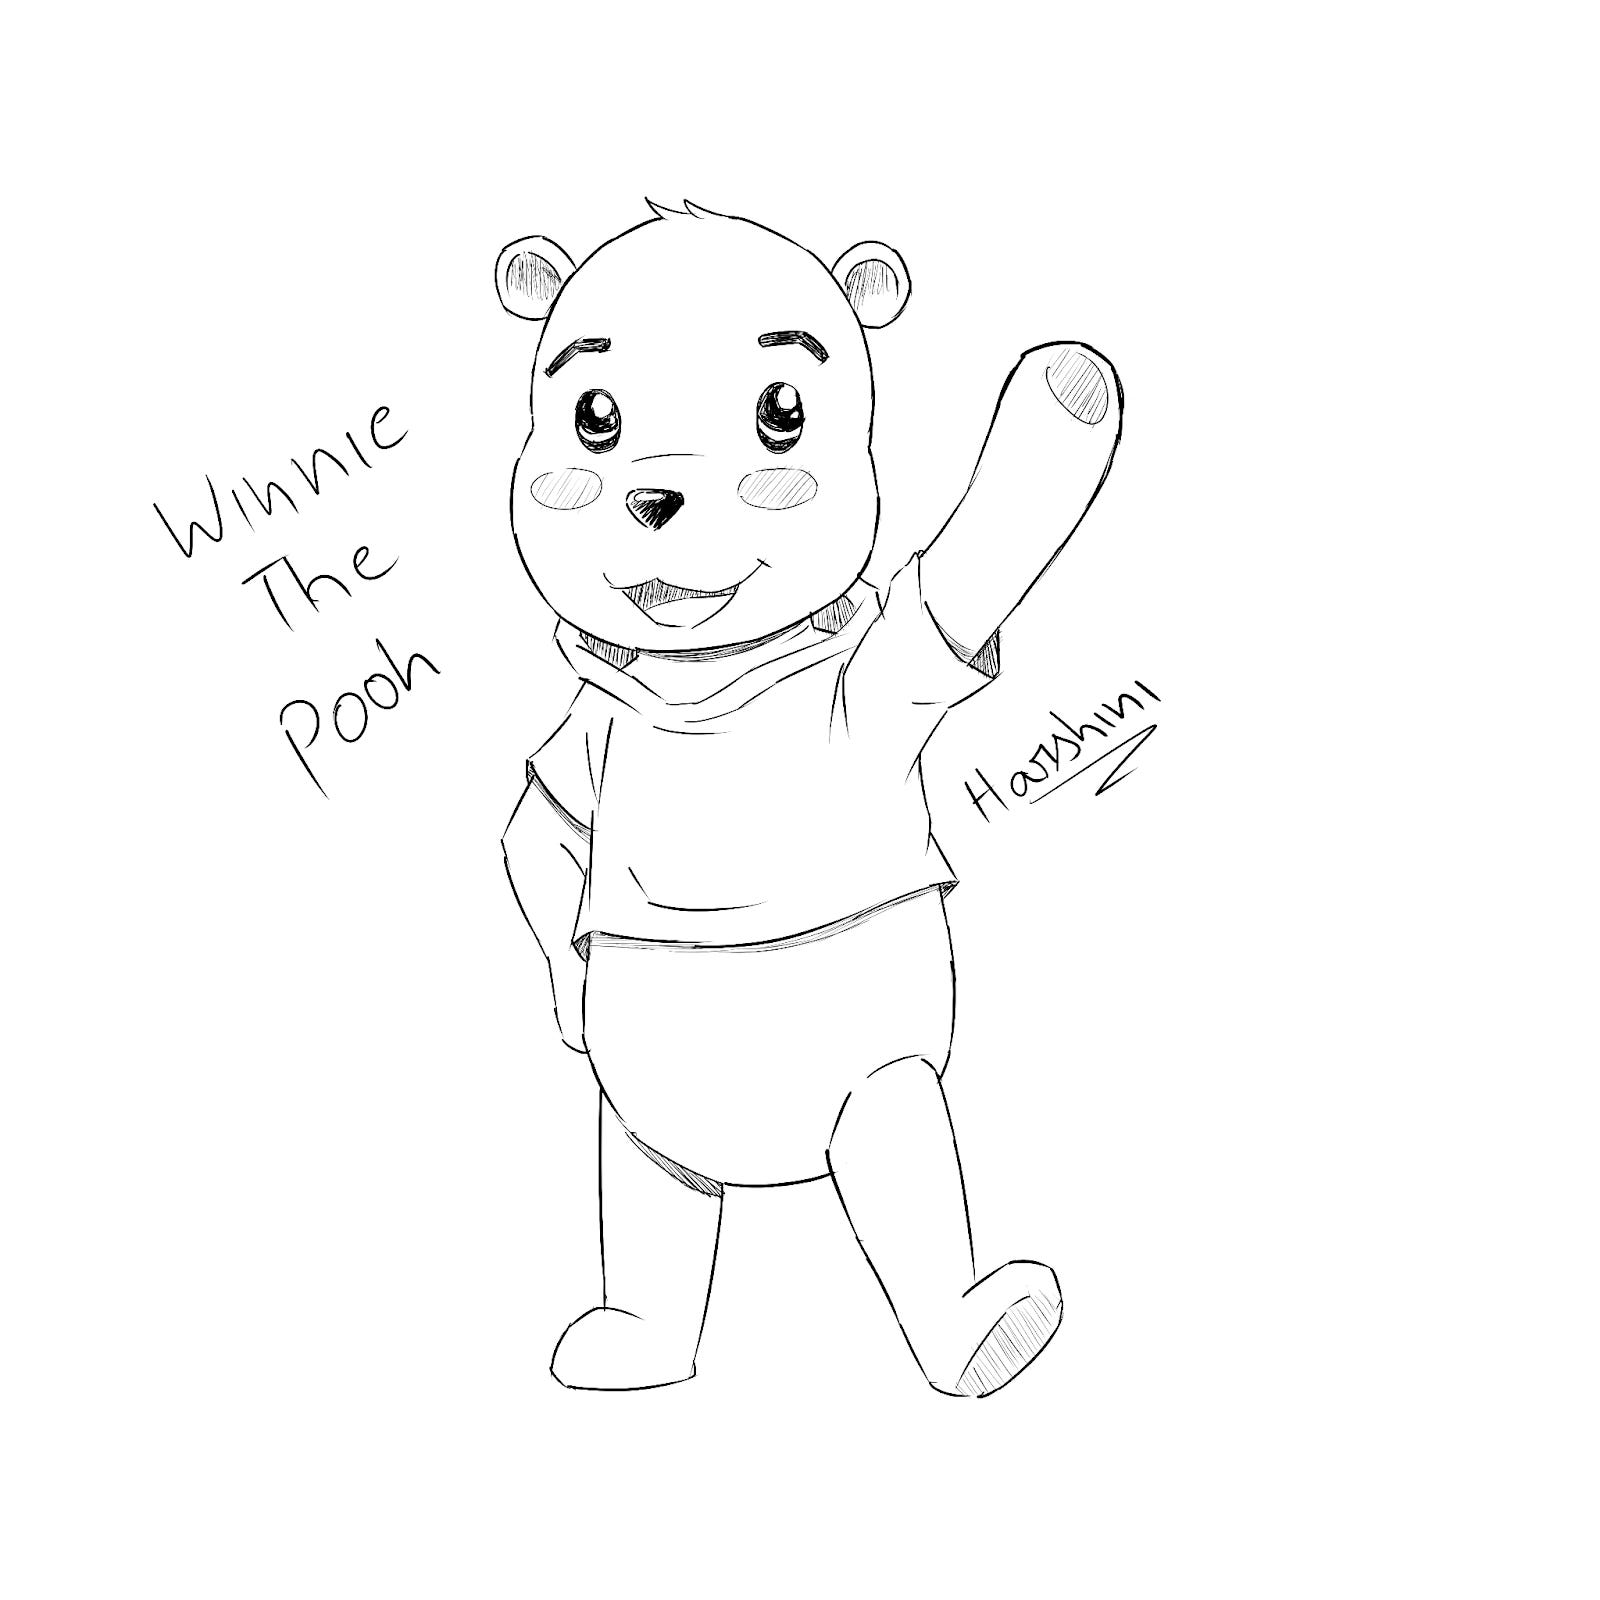
I gave him two big sparkly eyes. (As it's one of the iconic traits that scream the words, “Manga, anime and web comics!!”)
I sketched a sphere for his head and a slightly squashed sphere for his muzzle. Two, merged spheres for his body and soft-looking cylinders with rounded corners for his hands and legs.
I gave him some blush on his cheeks to make him look cute. Child-like characters have that in manga art style.
It took some time to figure out how to draw the pose. I didn't use references for poses, or add screen tones or color. (I figured I'd conserve some energy for my work-in-progress).
I did add some hatching. (If you didn't know, It's those straight lines manga artists add to give depth, detail, texture, and substitute for color.)
I kept the hatching to a minimum as I wanted him to look bright and to radiate playful childhood vibes.
Here's the timelapse, so you can watch me draw and experiment with the sketch.
Artwork #2

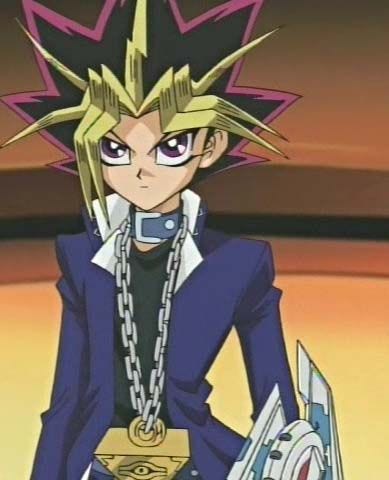
Next up, we have Yugi Muto! A character from a show called “Yu-Gi-Oh!” created by Kazuki Takahashi.
Now, this is an anime character. Manga and anime follow the same face and body guidelines (with slight variations to suit the art style of the manga or anime). He's already drawn in manga art style.
Because this show's art style is pointy, and unique, and uses shapes with sharp edges, it's going to look different if I draw it in my manga art style. (Let's do that!)
I haven't watched this anime yet, but I've seen this character before.
Oh, boy, never did I ever imagine myself drawing Yugi. His character design looked a bit complicated- that is until I drew him.
I looked for references and saw that he looked different in different images. Then, I found out there were two versions of him. One, his normal self and his other personality. I chose to draw his other self.
He also wore different outfits in each image. So, I figured I could draw just the upper body and add what I observed.
First, I picked an image to use as the main reference.
I also looked at other reference images to observe some elements of his design that I couldn't see in this image.
While I was sketching I didn't decide on a pose. I tried drawing his hand in perspective, holding a card in front of the camera.
But man, drawing hands is so hard. I usually take pictures of my hands and use them as a reference. If you're going to use this method, I recommend shaping it to fit your character and art style. (Example: some characters have long slender hands and some may have short chubby hands.)
This time, I didn't draw hands, but you can see me experimenting with the timelapse I included later in this article.
Here's the result:
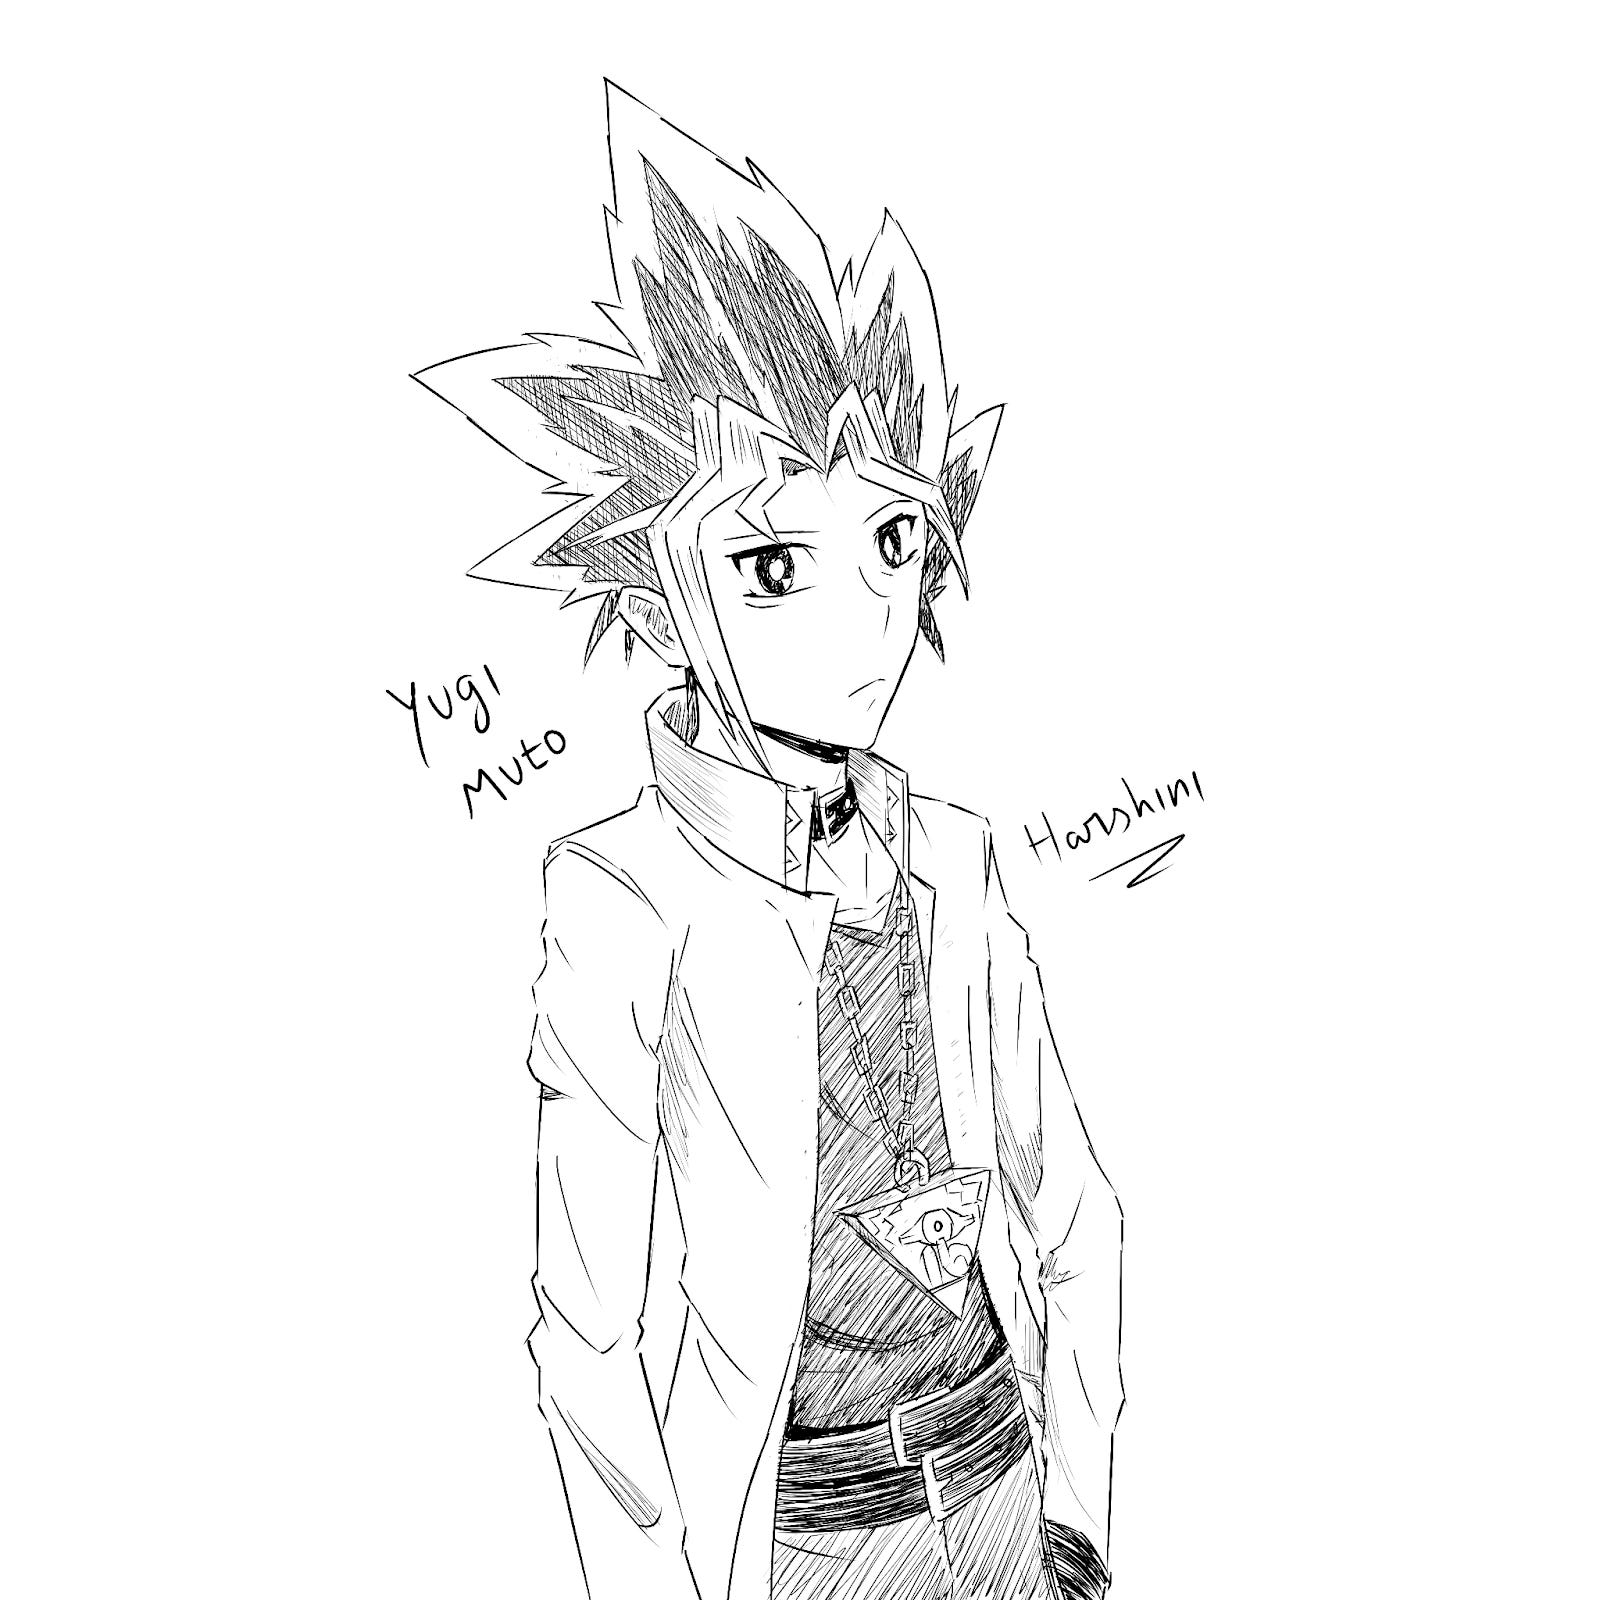
I had some trouble drawing the hair, but that's because I tried drawing it without adding guidelines.
I drew his face slightly looking to the side. So, drawing the hair symmetrical and even on both sides wouldn't work.
To solve this problem, I used… ✨Simple shapes✨ as guides.
I sketched a flat, plain, and simple star-like shape on his head, on a different temporary layer. I lowered the opacity and went back to the “Sketch” layer to re-draw his hair, but this time, I added some details. Like, a few hair strands slightly sticking out. Once that was done, I removed the temporary layer.
After the sketch was done, I inked/added line art as usual, tweaking things here and there, and adding lines I forgot to add while sketching.
I created a new layer to add hatching and cross-hatching.
As you can see below, in the timelapse, I didn't try to keep the hatching lines within the line art. I let them overshoot and lowered the opacity of the layer to erase the parts that spilled out. This way, you can keep the lines more consistent.
Here's the timelapse!
The pros of drawing solely for fun:
I’ve been making slow progress on my in-progress comic and eventually hit an art block. So, I figured I’d switch some things up and draw something else. If these were commissioned pieces I would’ve spent an eternity correcting the lines and making them perfect. Since I was drawing them for fun, I was able to draw faster without overthinking each step. Drawing solely for fun, I realized that my hand got stiff, since I wasn’t doing long, fast lines in my comic in an attempt to make them look as good as I can. Drawing these taught me that imperfect lines look more natural and freed my hand from stiffness. Also made me faster at drawing the comic. I usually draw line art for about 1-3 pages per day. But, after these drawing sessions, I drew line art for 5 panels in one day!
Lesson learned: if you’re working on an art project, don’t constrain yourself to drawing only when you’re working on the project. Set aside some time to draw just for fun. Ask your friends for suggestions if you’ll be motivated to have someone looking forward to seeing your art. The more you enjoy art, the more it stops feeling like a chore, and the more you can draw.
Note: I might do this again, and probably make it into a series one day. I will let you guys know when I’m accepting suggestions on Notes and Subscriber chat when I can spare some time.
Thanks to
and for suggesting these characters. If you guys want the drawing I did of the character you suggested, just leave a comment or message me. I’ll mail it to you in full image quality.Before you go, check out a few articles I liked reading this week:
That’s it for today. If you liked this post, you can let me know by leaving a quick like, comment, restack, or share this letter with others.
Thank you for reading! I hope you enjoyed reading this post and I hope it was helpful. Come again next week on Friday for a ✨new post✨
- Harshini
Wow! The timelapse is so good! 👍👍👍
Applaud for your great effort!👏👏👏
The shadow is very important for everything to pop! Well done!🙏😉
Wow Harshini! This was incredible! I absolutely loved how you reinvented and added your own creativity to these characters! You are truly talented (as I know you just love that word haha) and I can't wait to see more!
Also, I appreciate the shoutout!